How To Replace An XLERATOR Heating Element
How To Replace An XLERATOR Heating Element
Follow these easy step-by-step instructions to carefully and successfully replace the XLERATOR subassembly.
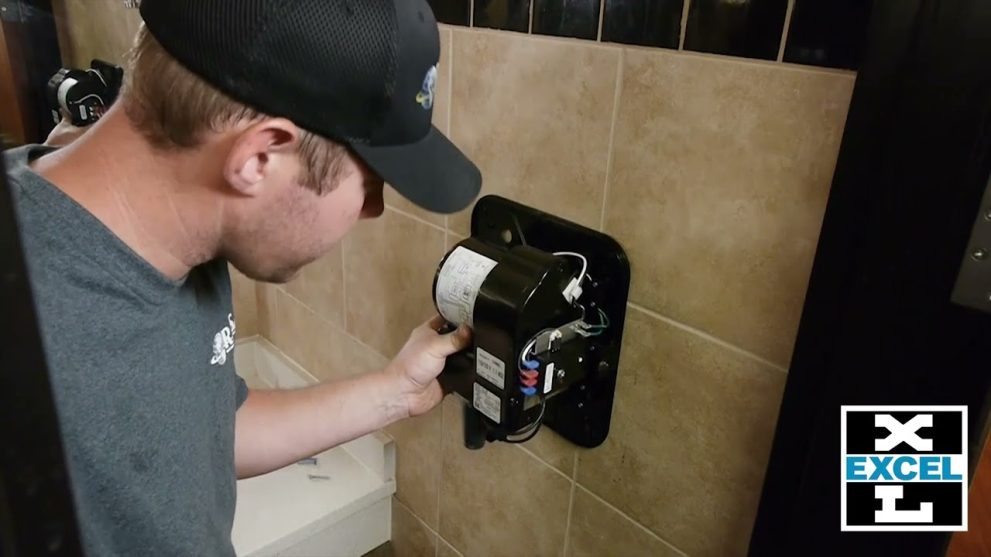
Step One: Disconnect the power supply to the dryer usually located in your electrical panel box, and remove your cover.
Step Two: Confirm power is disconnected by checking if there is any voltage at the terminal block.
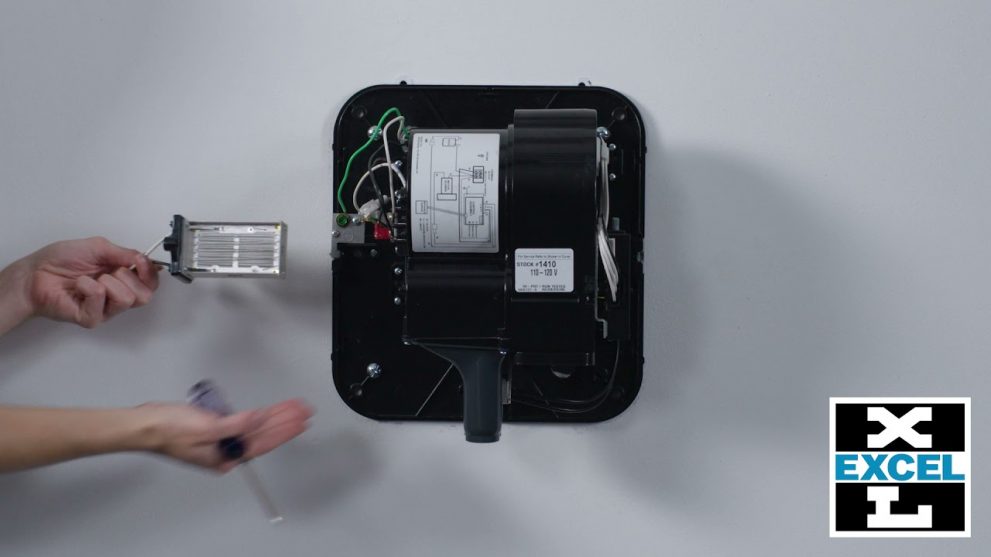
Step Three: Locate the heating element marked “XL-08” on the left side of the subassembly.
Step Four: Disconnect wire from element to terminal block and the white connector plug. Do not pull on the wires themselves.
Step Five: On older dryers, disconnect the wires from the element to terminal “T3” on the control assembly. With a Phillips head screwdriver, remove the two screws holding the element assembly to the dryer housing.
Step Six: Remove the heating element assembly along with its gasket by sliding it out of the housing. Install the replacement heater assembly along with the new gasket. Ensure that the heater is inserted with the white wire at the top of the dryer or towards the ceiling.
Step Seven: The heater should not flush with the blower housing surface before reattaching wood screws. Use the longer three-quarter-inch long screws supplied with the instructions.
Step Eight: Only tighten the screws enough to seal the heater assembly to the blower housing.
Do not overtighten.
Step Nine: Reconnect heater wires as previously disconnected or refer to the schematic in the cover or on the dryer blower as a guide.
Step Ten: Reinstall cover, securing it with the tamper-proof bolts previously removed.
Step Eleven: Restore power and check for proper operation.
If you have any questions, please call the customer service department at Excel dryer at: (800) 255-9235,
View our full library of hand dryer maintenance videos.
Explore Other How-To Videos


