How to Replace the Motor in an XLERATOR Hand Dryer
How to Replace the Motor in an XLERATOR Hand Dryer
Proper maintenance of your business’ hand dryers ensures the longevity of its performance quality. In time, however, it may come to a point where replacing its motor is much more practical than repairing it. To help you with this endeavor, we’ve created a step-by-step guide on how to replace the motor on your XLERATOR hand dryer. This article will instruct you on what needs to be done and what precautions should be taken to ensure that you’re replacing the motor as safely and efficiently as you possibly can.
Step 1: Disconnect the Power Supply and Remove the Cover
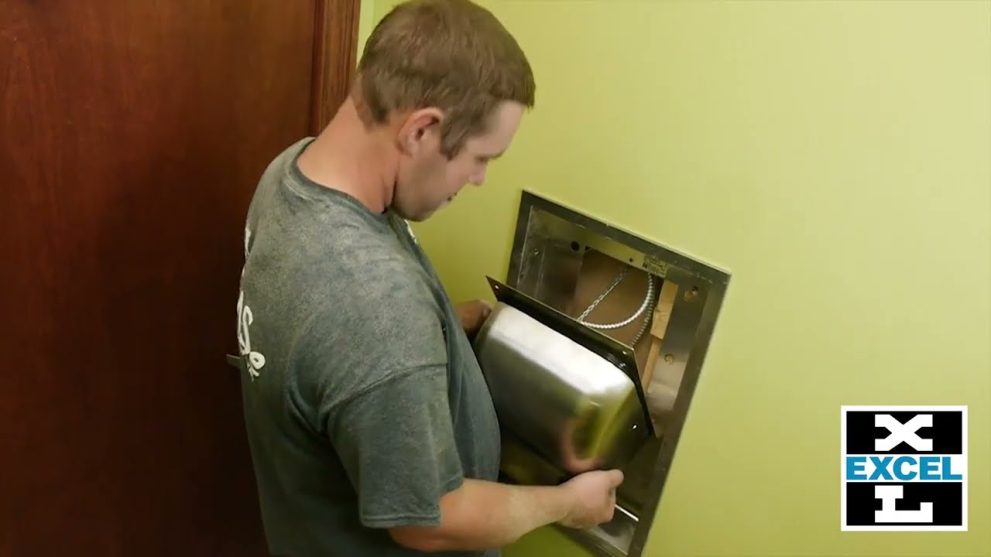
The first step in replacing a motor on an XLERATOR hand dryer is to disconnect the power supply and remove the cover using your tamper-proof wrench. Before proceeding any further, confirm that there is no voltage at the terminal block.
Step 2: Remove the Snap-In Pre-Filter and Top Right Housing Retainer
Remove the snap-in pre-filter with a light tug downward on the thumb tab. Also, remove the top right housing retainer via two screws. Be sure to save the screws somewhere safe when you need to replace them.
Step 3: Remove the Air Inlet Cover Screws
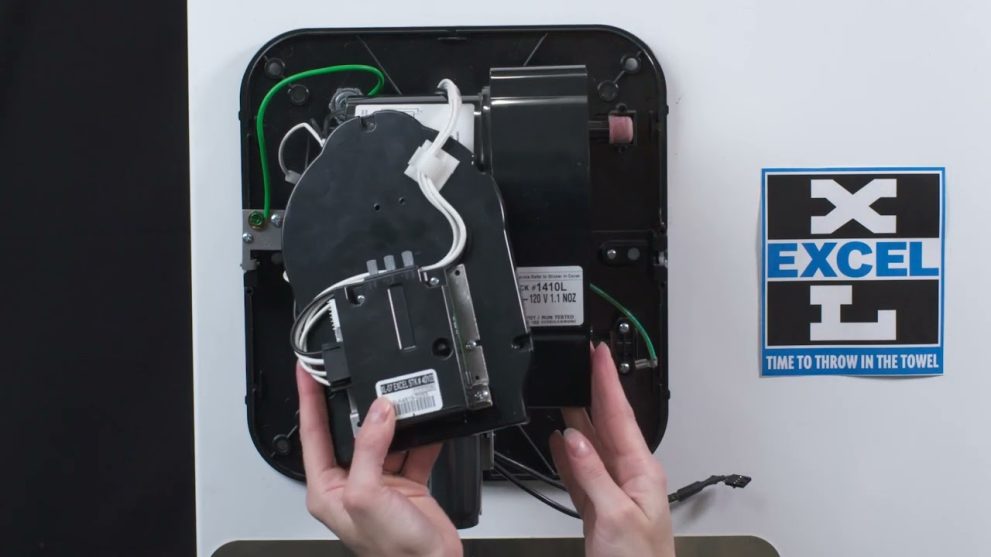
Remove the three air inlet cover screws and disconnect the green wire from the tab on the control bracket.
Step 4: Reconnect the Black and White Wires and Install the New Motor
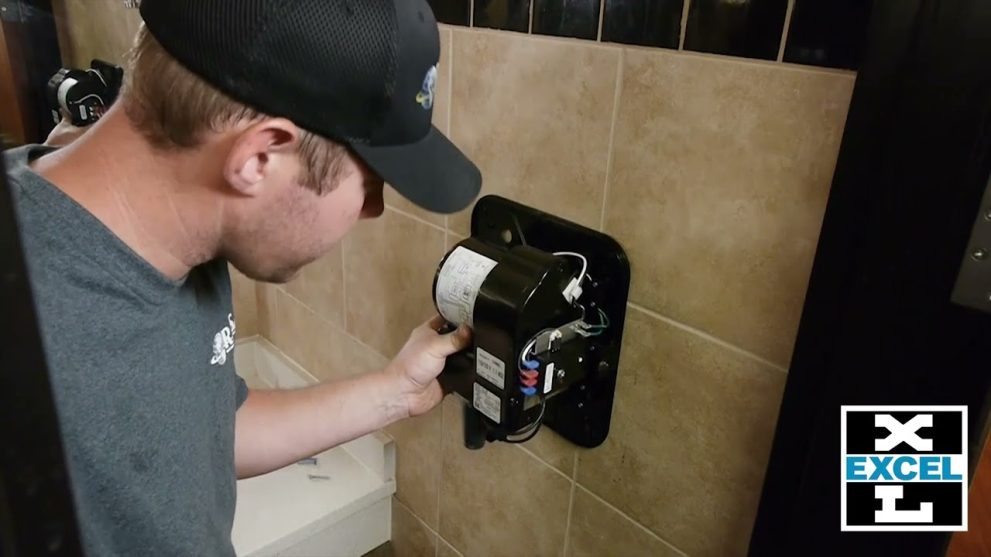
Since the air inlet cover is now loose, disconnect the accessible optic sensor wire by pressing the tab on the plastic connector while lightly pulling out. Move the air inlet cover and attached control out of the way by draping it over the top of the hand dryer. Remove the four screws, then take the metal motor bracket off. Gently pull the motor out of the housing because there are wires attached to the back of the motor. Carefully note the position of the black and white wires and remove them from the old motor. Reuse the old motor gaskets, making sure one gasket is seated properly over the back of the new motor. Then reconnect the black and white wires. Install the new motor and continue pushing the motor and its inner and outer gaskets inside, making sure not to pinch the wires in between the motor gasket and blower housing.
Step 5: Reattach the Air Inlet Cover and Reinstall the Top Right Housing Retainer
Reinstall the motor bracket and four screws. Do not over-tighten the screws. Bring the air inlet cover and control into position and plug the optic sensor wire back into the control. Reattach the green ground wire to the tab on the control bracket. Then, reinstall the air inlet cover and three screws. Again, do not over-tighten the screws. Reinstall the top right housing retainer via two screws, with the two bumps on the retainer pointing away or towards the outside of the dryer. Finally, reinstall the pre-filter along with the cover and two screws.
Step 6: Restore the power and check for proper operation
If you have any questions, please call the customer service department at Excel dryer at: (800) 255-9235.,
View our full library of hand dryer maintenance videos.
Replacing a motor on an XLERATOR hand dryer may seem like an overwhelming task, but with the right guide, it can be done quickly and efficiently. By following the above steps, you can save on costly repairs or replacements, all while ensuring that your high-speed hand dryer operates as efficiently as possible. Don’t wait until your hand dryer breaks down; take proactive steps today to maintain the equipment in your facility and avoid unnecessary downtime. We hope this guide has been helpful, and we welcome your comments and feedback.
Explore Other How-To Videos


